




Late-Fall UTV Riding: 7 Tips for Cooler Trails
Late-Fall UTV Riding: 7 Ways to Prepare for Cooler, Wetter Trails
Fall riding can be some of the most rewarding riding of the year. The trails are quieter in some areas, the air is cooler, and forest roads take on a different look as the leaves begin to fall.
But by mid-to-late October, conditions can change quickly. A trail that was dry a few weeks ago may now be covered in wet leaves, loose mud, or standing water. Temperatures can drop after sunset, and daylight disappears earlier than it did in summer.
If you’re planning another UTV or side-by-side trip this fall, a little extra preparation can make the difference between a great day outside and a long ride back to the trailer.
Here are seven practical ways to get your UTV and your gear ready for late-fall riding.
1. Expect Different Trail Conditions
Fallen leaves can hide rocks, roots, ruts, and other obstacles. After rain, the same leaves can become slippery, especially on hills and tight turns. Muddy sections may also be deeper than they look.
Before heading out, consider what the trail will be like after recent rainfall, not just how it looks on a map.
A few simple habits help:
-
Slow down on leaf-covered corners and downhill sections.
-
Leave more room between vehicles when riding in a group.
-
Avoid unfamiliar puddles when you cannot see the ground underneath.
-
Turn around if a trail becomes unsafe rather than trying to push through.
If you ride in mountainous areas, check for early snow, freezing temperatures, and changing visibility. In warmer regions, rain can still make dirt roads slick or create dangerous washouts.
The goal isn't to avoid every muddy trail. It's to know what you're getting into before conditions become difficult.
2. Check the Weather and Trail Rules Before Leaving
A general forecast for the nearest town may not reflect conditions on a remote trail. Elevation, wind, rainfall, and local terrain can all affect the ride.
Check the forecast for the actual riding area, then confirm that your intended route is open. Some public-land roads have seasonal restrictions, vehicle-width limits, or closures that do not appear on every navigation app.
Useful resources include:
-
National Weather Service — weather hazards and outdoor safety information.
-
Bureau of Land Management Off-Highway Vehicle Recreation — riding areas, regulations, and responsible OHV use.
-
USDA Forest Service Maps — maps and information for national forests and grasslands.
Download your route before leaving home. Cell service can disappear quickly in forested, mountainous, and desert areas.
It's also worth telling someone where you're riding and when you expect to return. That small step matters if your group encounters a breakdown or unexpected weather.
3. Give Your UTV a Thorough Pre-Ride Check
Cooler weather and rougher trail conditions are good reasons to inspect your vehicle before every trip.
Start with the basics:
Tires and wheels: Check tire pressure, tread, sidewalls, and wheel nuts. Look for cuts or embedded debris that could become a problem on a remote trail.
Brakes and steering: Make sure the brakes respond properly and the steering feels normal. Do not head out if you notice a new noise, vibration, or handling problem.
Battery and electrical connections: Inspect battery terminals, wiring, connectors, and fuses. Mud, moisture, and vibration can expose weaknesses in electrical connections.
Fluids and engine components: Check the oil, coolant, fuel level, and other items specified in your owner's manual. Clear leaves and debris away from areas where they could interfere with cooling or moving parts.
Lights and accessories: Test your headlights, brake lights, turn signals where fitted, and any aftermarket lighting. Check that accessory wiring is secure and that mounts have not loosened during previous rides.
For a more detailed inspection, follow the maintenance schedule in your UTV owner's manual. If something doesn't feel right, fix it before the trip rather than hoping it will hold up on the trail.
For additional guidance, see Tread Lightly!'s cooler-weather riding tips.
4. Plan Around Shorter Days
One of the easiest mistakes to make in fall is planning a ride as if it were still midsummer.
A route that takes three hours in July may leave less room for stops, slower muddy sections, or an unexpected detour in late October. Sunset also arrives earlier, and temperatures may fall quickly once the sun goes down.
Before leaving, work out:
-
Your planned departure and return times.
-
The approximate riding time, including breaks.
-
Fuel stops and possible turnaround points.
-
A shorter backup route if conditions deteriorate.
-
The time you need to reach the trailhead before dark.
Build in extra time rather than planning to finish at the last possible minute.
If you regularly ride into the evening, make sure your vehicle's required lights work properly and that your route allows for safe visibility. Additional lighting can be useful, but it should complement—not replace—good route planning and appropriate speed.
5. Dress for the Ride, Not Just the Forecast
A cool morning can turn into a mild afternoon, while wind and damp clothing can make the ride feel much colder than expected.
Dressing in layers makes it easier to adjust without carrying a bulky jacket all day. Consider bringing:
-
A moisture-resistant outer layer.
-
A warm mid-layer for early starts and late returns.
-
Gloves suitable for the temperature and controls.
-
Eye protection and appropriate riding gear.
-
Spare socks and a dry shirt in a waterproof bag.
Keep drinking water available even when the weather feels cool. If your ride takes you far from services, pack food, a first-aid kit, a basic tool kit, and recovery equipment appropriate for your vehicle and route.
The BLM's outdoor safety guidance offers additional advice on weather changes, limited cell coverage, navigation, and emergency supplies.
6. Make Sure Your Lighting Is Ready for Fall
Lighting deserves extra attention when daylight hours are getting shorter. First, make sure your factory lights and all required safety lighting are working correctly.
Then consider what would make your usual riding setup more practical.
-
Whip lights: Useful for making your vehicle easier to spot in suitable off-road settings and helping riding partners identify one another.
-
Rock lights: Illuminate the area around the lower part of the vehicle, helping you see nearby terrain when maneuvering slowly.
-
Wheel lights: Add visibility and a distinctive look to your setup, particularly during stops and evening gatherings.
Explore EHAHO Whip Lights, Rock Lights, and Wheel Lights to compare options for your vehicle.
Before installing any accessory, check its fitment, mounting requirements, wiring instructions, and power compatibility. EHAHO accessories covered by its 12V compatibility requirement should only be connected to a suitable 12V electrical system. Use an appropriate voltage converter when required by the product instructions.
Remember that decorative lighting does not automatically make a vehicle street-legal. Follow local rules about permitted colors, placement, and use, and avoid lighting that blinds other drivers or riders.
7. Keep the Ride Enjoyable Without Overpacking
Late-fall rides are not only about reaching the destination. They are also about taking a break at a scenic overlook, meeting friends at camp, or enjoying a relaxed afternoon on a familiar trail.
A few well-chosen accessories can make those moments better without adding unnecessary complexity.
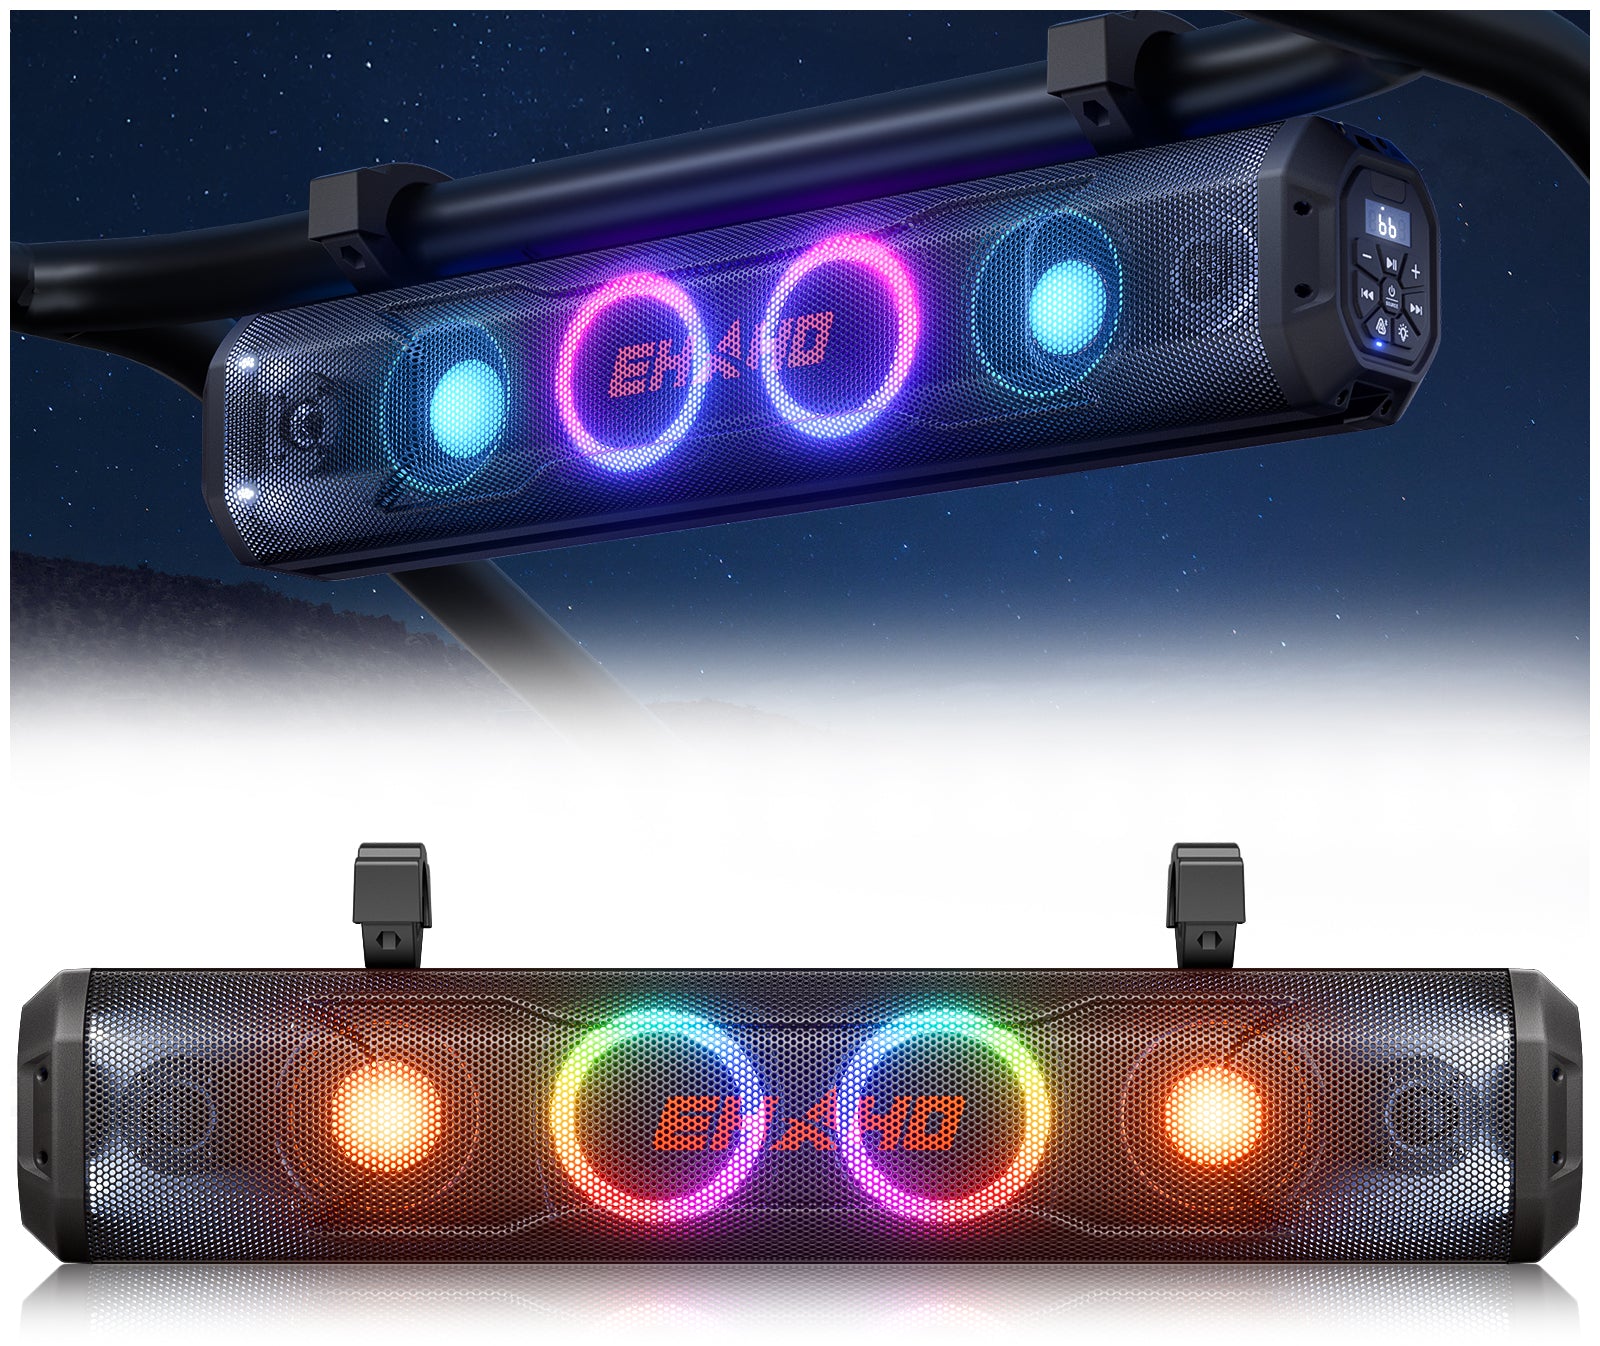
A properly mounted UTV sound bar can provide music at a trailhead or campsite. When comparing options, consider sound output, mounting space, Bluetooth connectivity, weather resistance, and how the unit is powered and controlled.
Explore EHAHO UTV Sound Bars if you're looking to upgrade your vehicle's audio setup.
Keep the volume low enough to hear approaching vehicles, communicate with your group, and remain aware of your surroundings. Follow local noise rules, especially near campsites, wildlife, and other trail users.
The best setup is the one that fits your vehicle and the way you actually ride—not simply the one with the longest feature list.
A Quick Late-Fall UTV Checklist
Before loading up, run through this short checklist.
Vehicle
-
Tires, wheels, brakes, and steering checked.
-
Fluids, battery, and electrical connections inspected.
-
Required lights and accessories tested.
-
Fuel level and recovery equipment confirmed.
Route
-
Trail access and seasonal restrictions verified.
-
Local weather and recent rainfall checked.
-
Offline maps downloaded.
-
Return time and backup route planned.
Gear
-
Helmet and appropriate protective equipment.
-
Warm layers, gloves, and rain protection.
-
Water, food, and first-aid supplies.
-
Tools, recovery gear, and a charged phone or backup power source.
For broader safety advice, consult the CPSC's OHV and ATV Safety Information Center. Its guidance covers protective equipment, training, passenger limits, and other important riding precautions.
You can also review Tread Lightly!'s UTV riding tips for advice on staying on designated routes, respecting other trail users, and minimizing environmental impact.
Make the Most of the Fall Riding Season
Late fall doesn't have to mean putting your UTV away. It simply means paying closer attention to the conditions around you.
Check the trail before you go, give your vehicle a proper inspection, carry the right layers, and leave enough time to get back safely. With those basics covered, you can spend less time dealing with preventable problems and more time enjoying the ride.
Looking for practical upgrades for your next adventure? Explore the EHAHO Off-Road Collection to find lighting, sound systems, and accessories for your setup.
Prepare well, ride within your limits, and make every fall trip count.