


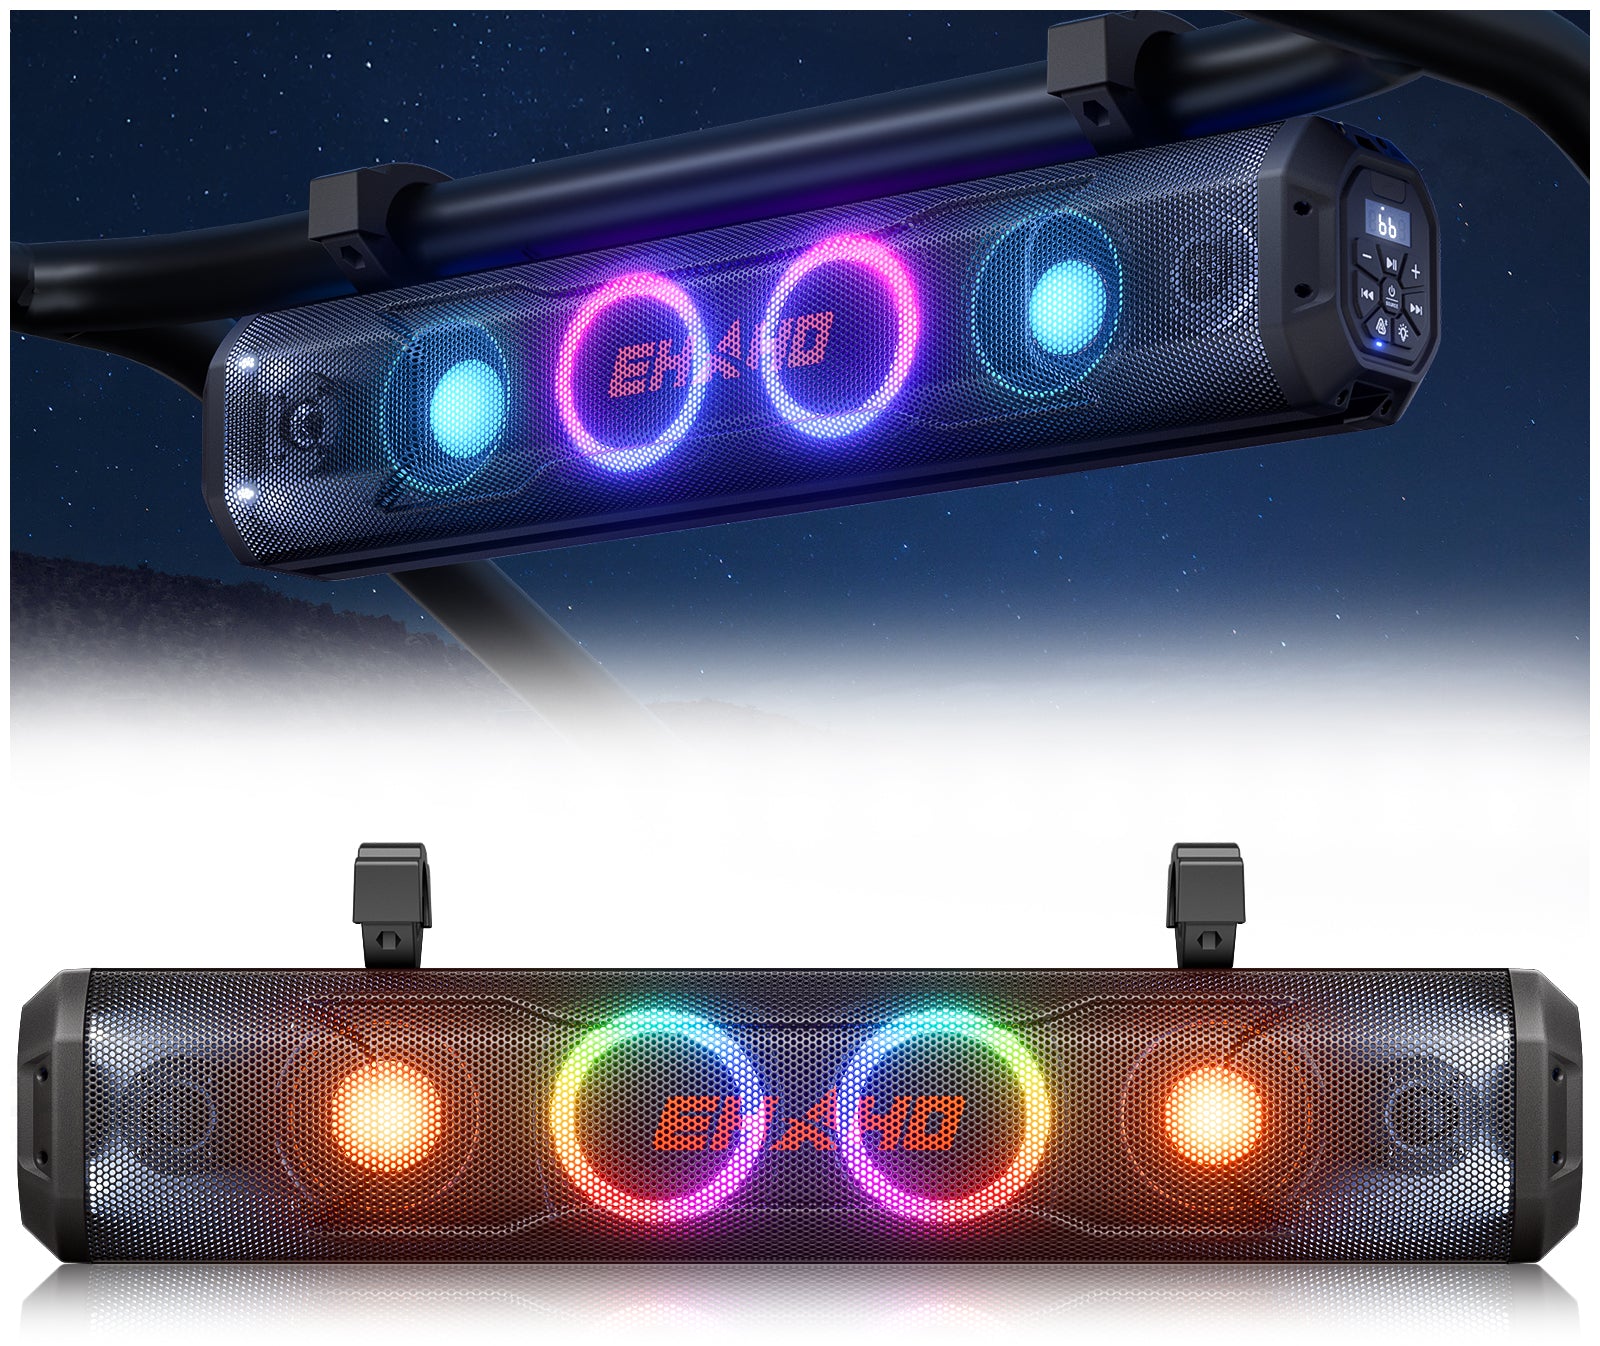


UTV Wiring Guide: How to Properly Install Lights, Sound Bars & Accessories
There’s a special kind of excitement when you unbox a new accessory for your UTV—whether it’s a set of RGB whip lights, a powerful sound bar, or underglow rock lights. You can’t wait to get it mounted and see it in action.
But here’s the thing that often gets overlooked: how you wire it matters just as much as what you install.
I’ve seen beautiful setups ruined by flickering lights, dead batteries, or intermittent failures—all because the wiring was rushed or sloppy. And I’ve also seen basic, budget-friendly accessories perform flawlessly for years, simply because they were installed with care.
The good news? You don’t need to be an electrical engineer to create a clean, reliable wiring system. With a little planning, the right tools, and some common-sense practices, you can make your UTV’s electrical setup as professional as any shop’s work.
In this guide, I’ll walk you through the practical steps I’ve learned from installing dozens of accessories on my own rigs—and helping friends with theirs. Let’s dive in.
Start with a Plan—Don’t Just Start Connecting Wires
I know the temptation: you get a new light bar, you want to see it glow, so you grab some wire and hook it straight to the battery. We’ve all been there. But that approach almost always leads to headaches later.
Before you cut a single cable, take five minutes to sketch out a rough plan:
-
Where will each accessory be mounted?
-
Where will you draw power from? (Battery? Fuse box? Auxiliary panel?)
-
How will you route the cables to avoid heat, sharp edges, and moving parts?
-
Will you add more accessories later? If so, leave room for expansion.
For example, a typical modern UTV setup might include whip lights, a sound bar, rock lights, and maybe a phone charger. Instead of running four separate wires from the battery, many experienced riders install a small auxiliary fuse block or switch panel near the dash—then run one main power cable to that block. This centralizes everything, makes troubleshooting easier, and keeps your battery terminals from looking like a spaghetti mess.
Know Your UTV’s Electrical Limits
Most UTVs run on a 12-volt DC system, just like your car. But not all batteries and charging systems are created equal. Before you start adding accessories, take a moment to check:
-
The age and condition of your battery—a weak battery will struggle with extra load.
-
Your alternator or stator output—how much extra current can it supply?
-
What’s already drawing power? Heated seats, winches, and large audio systems can push you close to the limit.
Adding too many high-draw items without understanding your system’s capacity can leave you stranded with a dead battery. If you’re unsure, a quick visit to your local battery specialist—or checking resources like Interstate Batteries’ maintenance guides—can give you a clearer picture.
Never Skip the Fuse—Ever
If there’s one rule I’d tattoo on every new rider’s arm, it’s this: always fuse every positive wire as close to the power source as possible.
A fuse is your first line of defense against short circuits, overheating, and even vehicle fires. It’s cheap, easy to install, and it can save your entire electrical system.
The basic chain should be:
Battery → Fuse (or circuit breaker) → Switch → Accessory
Always use the fuse size recommended by the accessory manufacturer—or go one step smaller if you’re using longer wires. And never, ever replace a blown fuse with a larger one to “fix” the problem. That’s a fire waiting to happen.
Route Cables Like a Pro
UTVs live in harsh environments: mud, dust, water crossings, and constant vibration. Your wiring has to survive all of that.
When running cables, keep them away from:
-
Exhaust pipes and engine blocks (heat melts insulation)
-
Suspension arms, steering linkages, and drive shafts (moving parts chew through wires)
-
Sharp metal edges (use grommets or edge trim)
Use split wire loom, spiral wrap, or protective sleeves to shield cables where they pass through tight spots. Secure everything with zip ties—but don’t overtighten them to the point of crushing the insulation. Leave a little slack at connection points to allow for vibration, but not so much that wires droop and rub.
I also like to use adhesive-backed cable mounts to keep runs neat and predictable. A tidy loom not only looks better but makes future troubleshooting much easier.
Installing LED Lights: The Whip Light Edition
Lighting upgrades are among the most popular modifications, and RGB whip lights are a crowd favorite. They’re flashy, functional, and fairly straightforward to wire—but there are a few nuances.
Most whip light kits come with a power wire, a ground wire, and a controller box. Here’s what I’ve learned from installing several sets:
-
Mount the controller in a dry, protected spot—under the dash or inside a sealed compartment works best. It’s not fully waterproof, so keep it out of direct spray.
-
Use waterproof connectors or heat-shrink butt connectors for all splices. Even if you think it’ll never see water, trust me—it will.
-
Route the whip’s cable along the roll cage, following the path of the light itself. Secure it with zip ties every few inches, and leave a service loop near the base so you can disconnect the whip without cutting wires.
-
Connect the ground to a clean, bare-metal point on the chassis—not to a painted bolt. Scrape off paint if needed.
If you’re looking for a reliable set, check out our RGB Whip Lights—they come with easy-to-follow instructions and all the hardware you’ll need.
Sound Bar Wiring: Don’t Shortchange the Power
A sound bar is different from simple LED lights. It draws more current, especially when you crank up the volume. Skimping on wire gauge or using a weak power source will result in distortion, dropouts, or even a blown fuse mid-ride.
For a typical UTV sound bar (like our Rumble‑X Series), I recommend:
-
Using at least 14‑gauge wire for power and ground if the run is under 10 feet; 12‑gauge for longer runs.
-
Connecting directly to the battery via a dedicated fuse (not piggybacking off an existing circuit).
-
Adding an inline switch or using a relay if you want to avoid draining the battery when the key is off.
-
Keeping the ground wire as short as possible and attached to clean metal.
Also, make sure the sound bar’s mounting bracket doesn’t pinch the cable when you tighten it. Leave a little extra length so the cable doesn’t pull tight during suspension articulation.
You can browse our full range of UTV Sound Bars—they’re built to handle the trail and sound great doing it.
The Game Changer: An Auxiliary Switch Panel
If you’re planning more than two or three powered accessories, do yourself a favor and install an auxiliary switch panel. It’s one of the best investments you can make for a clean, upgrade‑friendly electrical system.
A good panel typically includes:
-
Multiple illuminated rocker switches
-
An integrated fuse block
-
A relay to handle high‑current loads
-
Clear labeling for each circuit
With a panel, you can assign each accessory to a dedicated switch—whip lights on switch 1, rock lights on switch 2, sound bar on switch 3, and leave a spare for future upgrades. It cleans up your dashboard, reduces the number of wires running to the battery, and makes it dead simple to turn individual items on and off.
Many riders mount the panel near the steering wheel or overhead, where it’s easy to reach while driving.
Waterproof Every Connection—Seriously
Off‑road machines are exposed to everything: rain, mud, high‑pressure washings, and the occasional water crossing. Unprotected connections will corrode, leading to intermittent failures and voltage drops.
Here’s what I use on every joint:
-
Heat‑shrink tubing with adhesive lining—it seals the connection and provides strain relief.
-
Dielectric grease inside connectors to repel moisture.
-
Waterproof fuse holders (not the cheap open ones).
-
Marine‑grade butt connectors if you’re splicing.
It takes an extra minute per connection, but it pays off tenfold when you’re still running strong after a dusty, rainy weekend.
For more technical information on protecting electrical systems, 3M offers excellent resources on their website.
Common Mistakes—and How to Avoid Them
Using the Wrong Wire Size
Thin wires can’t handle high current. They’ll heat up, drop voltage, and might even melt. Always match the wire gauge to the accessory’s amp draw and the length of the run. A quick online chart can guide you—or just follow the manufacturer’s recommendation.
Poor Ground Connections
I’ve seen so many flickering lights and whining speakers traced back to a bad ground. The ground must be:
-
Clean (bare metal, no paint or rust)
-
Tight (using a bolt and lock washer)
-
Short (as direct as possible)
If you’re grounding multiple accessories, use a dedicated ground bus bar instead of stacking them all on one bolt.
Leaving Excess Wire Unsecured
Loose wires rub against frame rails, get caught in suspension, or fray from vibration. Take the time to bundle, route, and zip‑tie every cable. It’s not just about appearance—it’s about reliability and safety.
Final Checklist Before You Hit the Trail
Before you head out on your next adventure, run through this quick list:
-
✅ All power connections are tight and fused.
-
✅ Fuses match the recommended rating.
-
✅ Wires are routed safely and secured with zip ties.
-
✅ Every accessory powers on and functions correctly.
-
✅ Battery voltage is normal (around 12.6V engine off, 13.5–14.5V running).
-
✅ No cable touches exhaust, suspension, or sharp edges.
-
✅ All connectors are waterproofed.
A few minutes of inspection can save you from a frustrating breakdown miles from help.
Ready to Upgrade Your UTV Setup?
A well‑planned electrical system does more than keep your accessories working—it gives you peace of mind and makes future upgrades a breeze. Whether you’re building a simple weekend cruiser or a fully loaded off‑road rig, quality accessories paired with careful installation will transform your riding experience.
Explore our most popular upgrades:
-
🎵 UTV Sound Bars – Trail‑ready audio for every ride.
-
🌈 RGB Whip Lights – Visibility and style after dark.
-
✨ Wheel Lights – Add that custom glow.
-
🔧 Accessories & Mounts – Everything else to finish the job.
Get your wiring right, and every ride becomes a better story. See you on the trail!